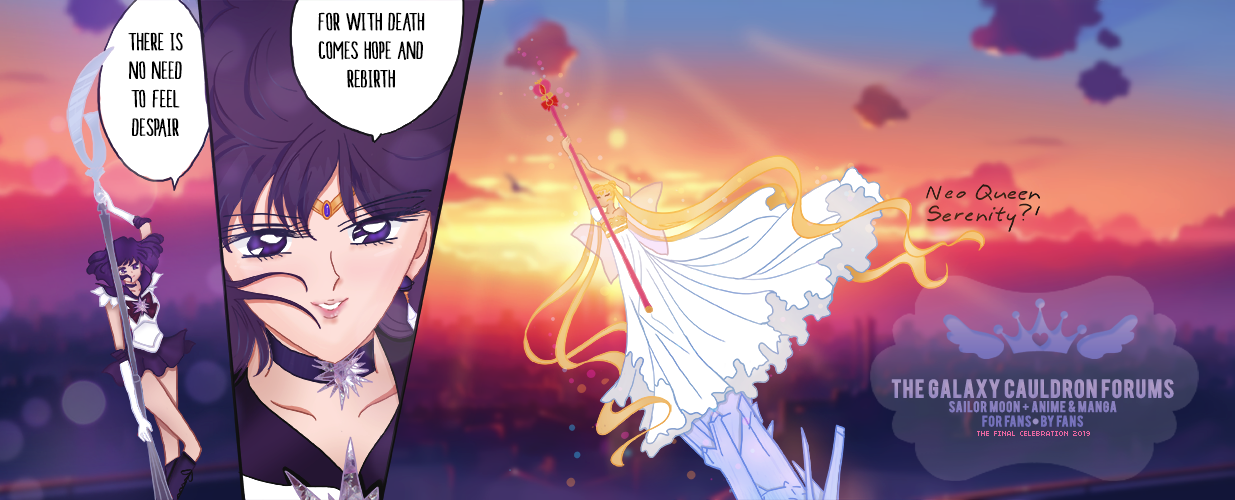
Hello everyone! This Tutorial was made on Photoshop CS6, so the steps may very for other people. Today I shall teach you how to make an image with a rounded border. Here is a sample below.
STEP ONE
Below here is just the basic set up of an image for a signature on the GC. Make sure your Layer says Layer # and not Background!
STEP TWO
Right click the Shape Tool and make sure that it's on Rounded Rectangle Tool. As stated before, remember to have the image on a Layer # and not on a Background.
STEP THREE
Before doing anything, make sure the Fill and Stroke is selected as nothing. Simply just click the Image and it something should Pop Up saying Create Rounded Rectangle Tool. Make sure to put the Width & Length at the EXACT size of the image. Keep the Center Box since it just simply makes it easier.
STEP FOUR
A Rounded Rectangle Layer should no appear. Simply move the layer properly in the center of the image so it all aligns correctly.
STEP FIVE
Make sure to now click on the Rounded Rectangle Tool again. Right click on the image and there will be an option to 'Make Selection.' Click on that. When you see what's below in the image, just simply click on OK.
STEP SIX
And now a Marquee should be circling around the image.
STEP SEVEN
Make sure you click on the Layer and not the Rounded Rectangle. If you don't do that, it won't work. Now click the Marquee Tool. Right Click on the image and click 'Select Inverse.' What's below is what you should be seeing.
STEP EIGHT
Now simply click 'Backspace/Delete' on your Keyboard. Now click File > Save As then name your image. Make sure to put it as a PNG file or everything you just did will not work! After That, you're done! Congratulations on your new image with a Rounded Border.
----------------------------------------------------------
MULTIPLE LAYERS INTO A BORDERED IMAGE
If your graphic has multiple layers, the instructions above WILL NOT WORK. Luckily for you, there's a solution to that. I HIGHLY RECOMMEND saving your image as a PSD file before doing the steps below.
Here is an example of a rounded image that contained multiple layers.
STEP ONE
As you can see the image below, there are multiple layers to the image. Now, right click on a layer of your image. Press 'Flatten Image.'
STEP TWO
After clicking on Flatten Image, what you see below should be the result of that. Having it on a Background Layer will not work. Right click on the Background Layer and select 'Layer From Background.' A window should pop up and simply just press okay on it.
STEP THREE
Your Layers should now look like this. When it looks like this, follow the original Tutorial above and work those same steps!
You can do this with any of the Shape Tools. When using the Custom Shape Tool, make sure to go back to the regular shape tools just so you can have the option to click 'Make Selection.'
#ag #agtutorial

